:max_bytes(150000):strip_icc():format(webp)/GettyImages-1138580464-a70b828a89cb48a7a7fc948df32b0d08-6fff0ce7df6345baa5b3dac4263728ad_primary-be701a2d206c47cbb3b74132e7421fcb.jpg)
If you’re new to the lash game, think of individual false lashes as a cheaper alternative to costly lash extensions. In a salon service, each lash (made of either mink or synthetic ) is attached to the lash line using semi-permanent glue, which typically takes about two hours. It also requires touch-ups every three to four weeks plus tons of maintenance in between, including conditioning, combing, and avoiding mascara.
Fortunately, applying individual lashes at home can be a great low-commitment option for a night out—at a fraction of the cost. Available at any major drugstore from brands like Ardell and Kiss, these individual lashes are intended to be applied in conjunction with your mascara and eyeliner and removed at the end of the night with the rest of your makeup, says aesthetician Tess Arroyo. They’re great for special occasions and to look more awake on a day-to-day basis, too.
Tips for Selecting Individual Lashes
Examine the Length
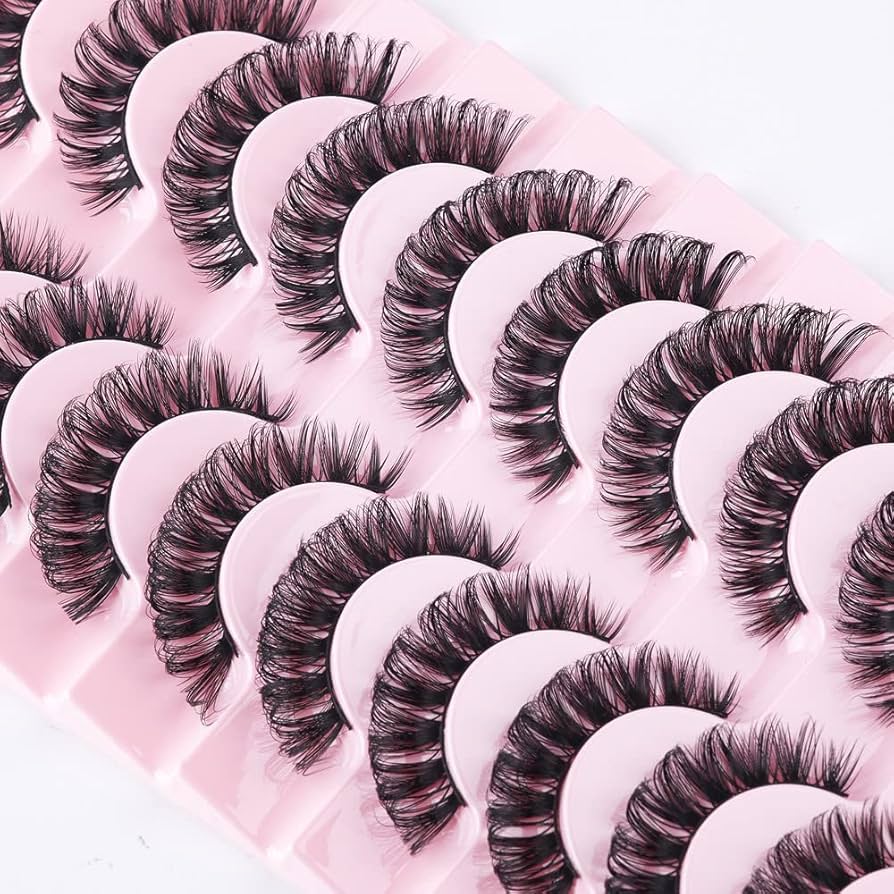
In general, false lashes are available in short, medium, and long lengths. In addition, numerous brands provide choices between single-layer or double-layer options, allowing you to adjust the volume to your preference (the latter option offers more volume).
When it comes to selecting the perfect lashes, it’s important to begin by evaluating your own natural lashes. According to Arroyo, the key to achieving a natural and seamless look with individual lashes is to carefully select ones that match your natural lash texture and length. It’s important to keep in mind that wearing falsies won’t actually stimulate the growth of your natural lashes. Instead, they simply create the illusion of longer lashes.
Consider the Thickness
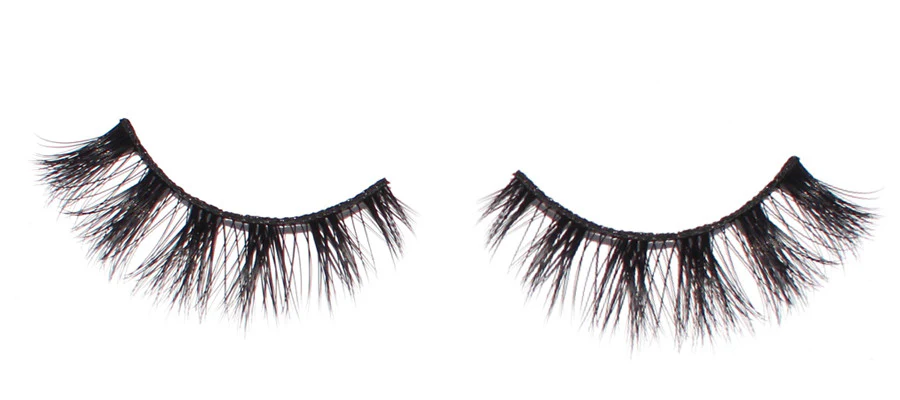
If you have light, fine, straight, or short lashes, it’s best to opt for a shorter or medium length and single-layer clusters. If you’re someone who has thick, wavy, curly, or long lashes, you might find the double-layer or long option to be more fitting for you.
Examine the Lashes at the Bottom
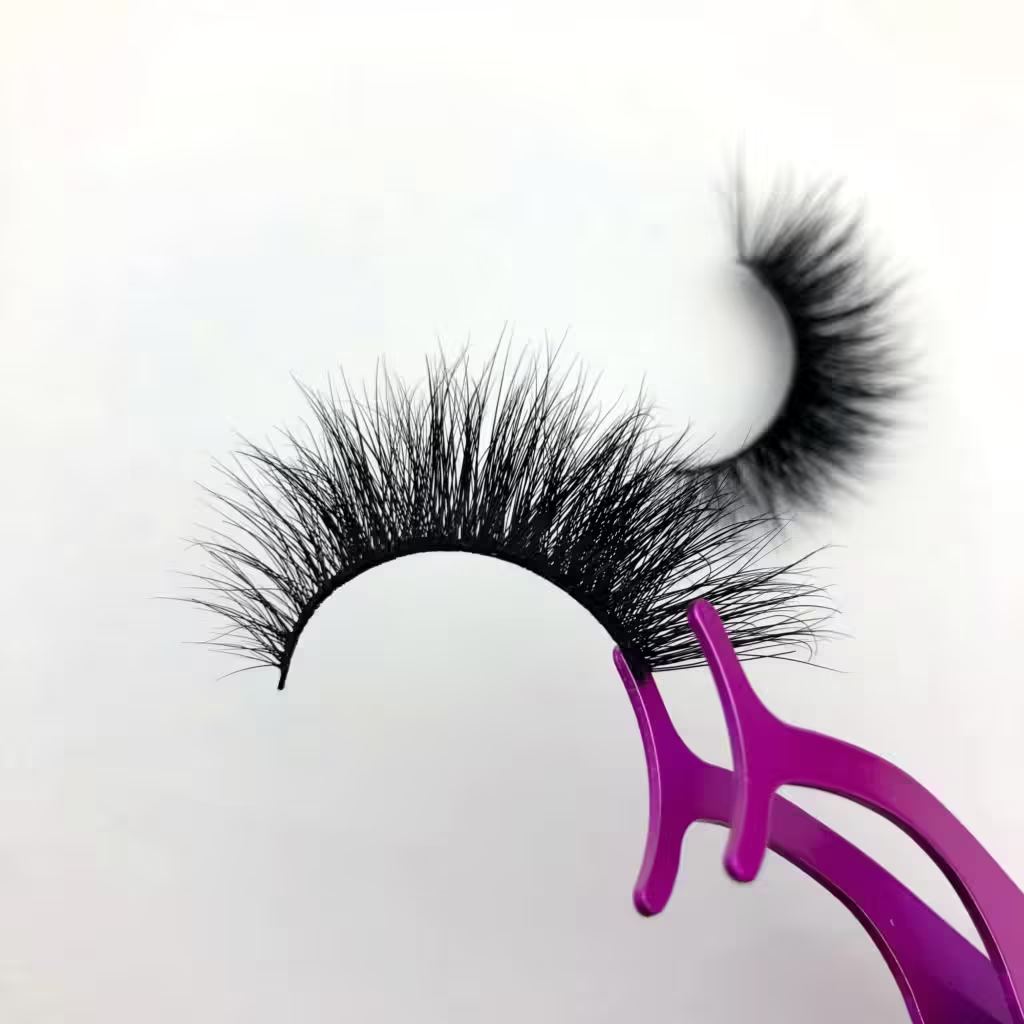
It’s important to examine how the lashes are secured at the base of each cluster. The options featuring knots will include a small clump at the base of the cluster, providing additional surface area for the lash glue to adhere to. On the other hand, if you have fine or light lashes, these knots may become visible in your final look. For many people, the option without any knots is usually the preferred choice. We absolutely adore i-Envy’s Kiss Individual Eyelashes, available in convenient packs of 70.
Make sure to check for lash glue.
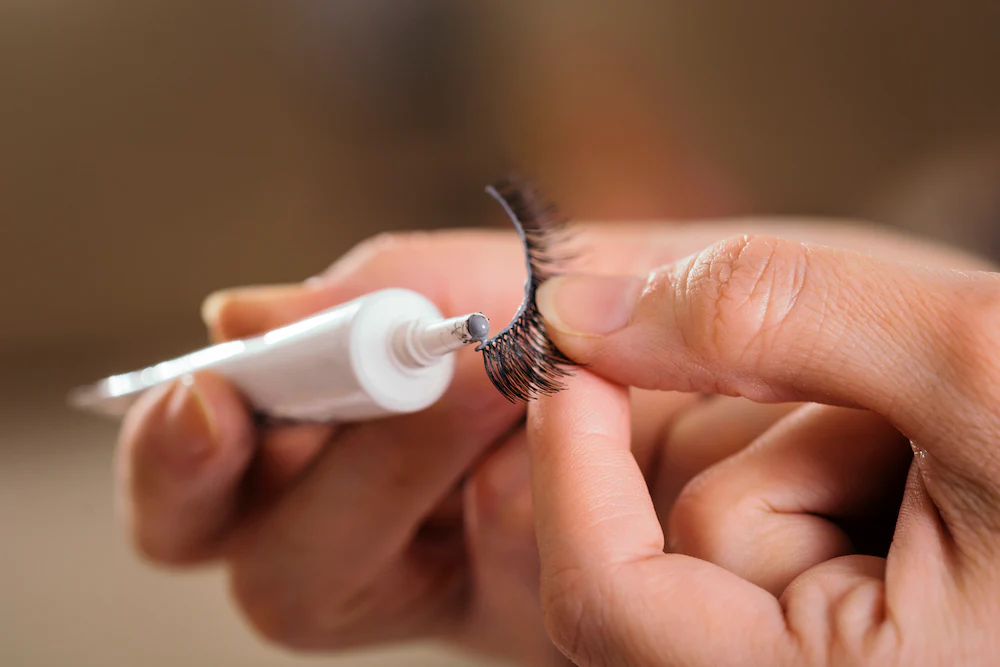
Another product you might need to purchase is lash glue. When purchasing packs of lashes, it’s important to double-check if the brand includes lash glue or not. While some brands do provide lash glue, others may not, so it’s always good to be aware before making a purchase. We absolutely love the Duo Striplash Adhesive when it comes to lash glues. It’s available in clear or black, and it’s definitely our top pick.
Opt for clear lash glue to achieve a more subtle and effortless eye makeup appearance. For a more dramatic cat-eye or smoked eye, consider using black.
A Step-by-Step Guide to Applying Individual Lashes
Trim the lashes to fit your own.
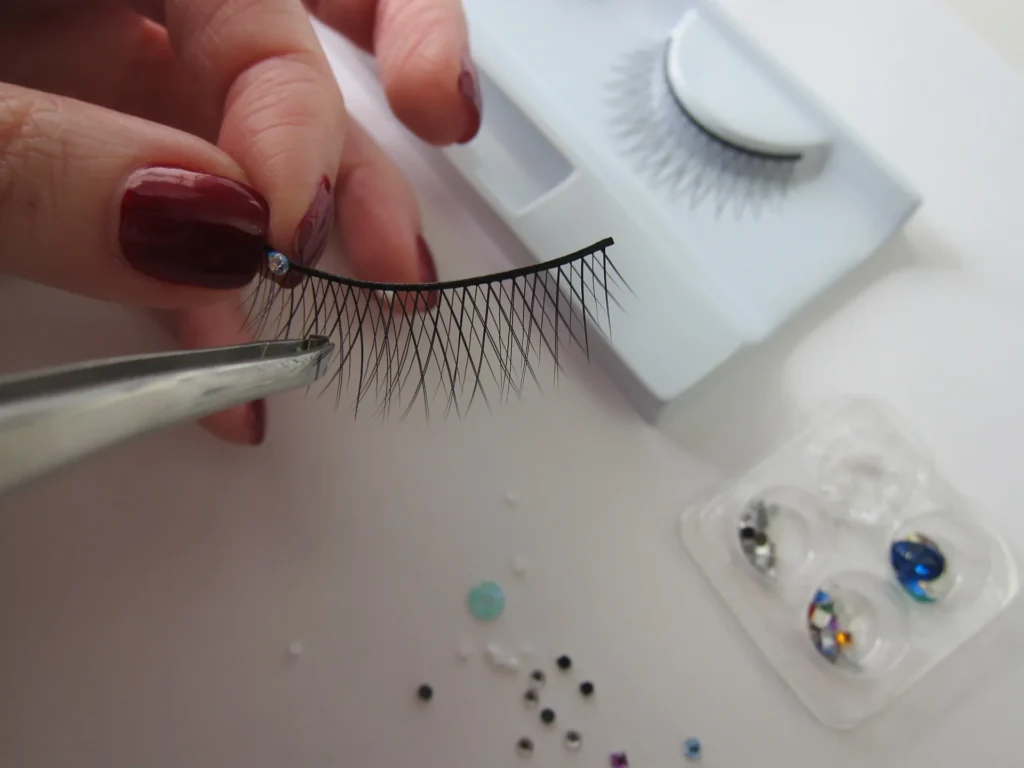
Before applying the lashes, you may need to trim them to match the length of your natural lashes. This is especially noticeable with the lashes in the inner corner of your eye, which have a more delicate and shorter appearance. “Before applying them, it’s a good idea to hold the false eyelashes up to your natural lashes,” suggests Arroyo. “Next, visually assess the amount that needs to be trimmed from the false lashes to ensure they align perfectly with your natural ones.” The aesthetician strongly discourages cutting the lashes after they have been applied to your eye, as it could pose a risk of injury.
Allow the adhesive to become sticky.
Apply a small amount of glue to the back of your hand or in the plastic tray the lashes come in. Be patient and give it some time, around 30 to 60 seconds, for the glue to become sticky. You’ll be able to tell when it’s ready by noticing a change in color and a thicker outer layer. It is crucial to ensure that the lash immediately bonds once it is applied. If the adhesive is too thin, the eyelash won’t stay securely in place and may have a higher chance of moving or becoming uneven.
Use a tweezer to carefully apply the lashes.
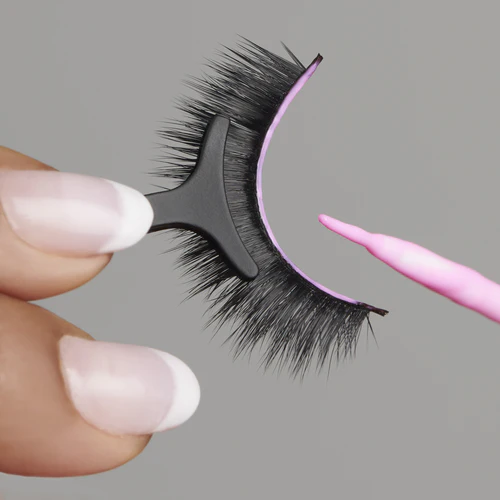
Now, adjust the angle of your head to get a better view of your eyelid and upper lash line. This will reveal your eyelid and upper lash line. With the help of angled tweezers or lash tweezers, gently tap the base of the lash cluster into the glue. Next, gently apply the lash along your lashes, beginning from the outer corner of the eye and moving towards the center.
If the adhesive has the right consistency, you can simply place the cluster and let it dry undisturbed for a few seconds. It’s important to ensure that the glue adheres to the base of your lashes rather than your eyelid skin.
After a few seconds, you can easily grab another group and place it beside the initial one. If you’re interested in achieving a more subtle and flirty appearance, consider applying three to four clusters of lashes on the outer corner of your eye. To achieve a more pronounced or intense appearance, consider extending your application along the entire lash line towards the inner corner of the eye.
Allow them to dry completely before clamping them together.
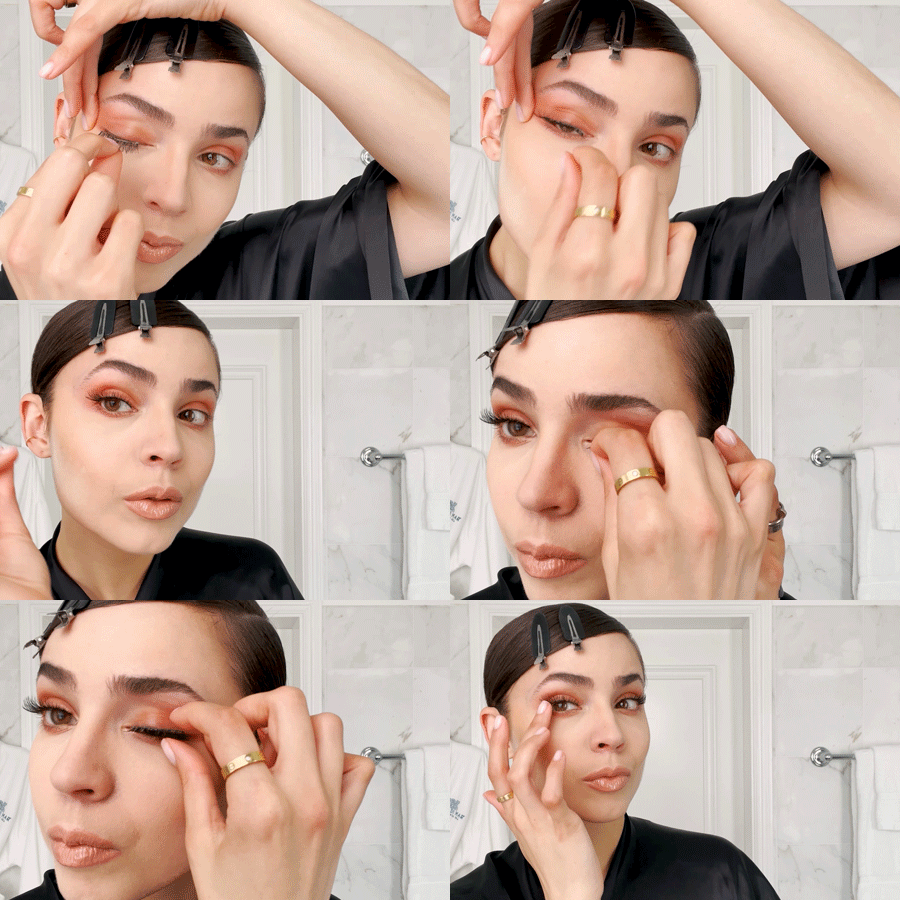
Once you’ve applied the desired number of lashes and are satisfied with their placement, allow them a solid 10 minutes to fully dry.
Utilize a lash curler or gently press the false lashes against your natural lashes using your thumb and pointer fingers.
How Long Does a Single Lash Last?
Individual lashes typically have a lifespan of around 12 hours, which can vary depending on your planned activities. If tears, water, rain, or a dip in the pool come into contact with Duo Glue, it may cause the adhesive to weaken, potentially resulting in the loss of a few of your clusters. However, by taking the necessary precautions, you can ensure that these things are avoided and will endure throughout the night!
How to Remove Individual Lashes
To remove your false eyelashes, start by soaking a cotton pad in an oil-based makeup remover and gently placing it over your closed eye for a few seconds. By using this method, the lash glue will become less rigid, and your eye makeup will begin to dissolve. Then, make sure to consistently remove all of your makeup.
Alternatively, you can also choose a cleansing balm or coconut oil, as they are effective in breaking down the glue. As your eye makeup fades away, you may notice that your lashes begin to lose their grip.
It is crucial to always remove your makeup, but it is especially important to take off your lashes before going to sleep. Allowing glue residue to remain on the lash for a prolonged duration can result in the accumulation of dirt and bacteria in the eye area, potentially leading to an infection. Reminder: It is advisable to use a proper remover instead of manually picking off the clusters with your fingers. Gently removing your lashes will help maintain the health of your natural lashes by protecting your hair follicles.
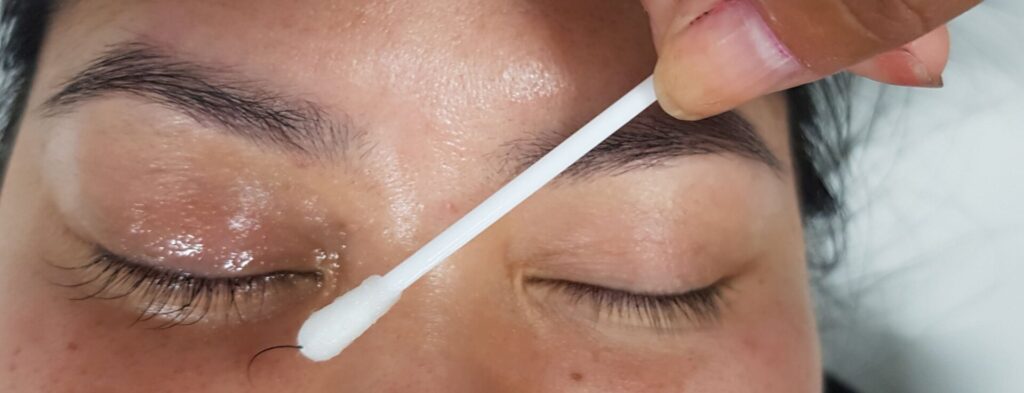
Once you’ve finished removing your lashes, simply dispose of them in the garbage. Individual lashes are designed for single use, but don’t worry; a single pack should give you enough lashes for two to three applications.